Balanced vs. Unbalanced Cables: Stop Killing Your Mix
Balanced vs. Unbalanced Cables: Stop Killing Your Mix
Focus Keyword: balanced vs unbalanced audio cables Meta Description: Discover how wrong studio cabling destroys dynamic range and tone. Learn XLR vs TRS, shielding secrets, and pro wiring fixes before your next session. Image URL: https://cdn.abacus.ai/images/a146ae85-feae-4395-81ff-835cc0b6bc39.jpg
Balanced vs. Unbalanced Cables: Stop Killing Your Mix
You spent months saving up for a quality audio interface. You bought a decent condenser mic. You treated your room. And yet — your recordings still sound thin, noisy, and somehow... amateur. That hum underneath your guitars. The hiss creeping into your vocal takes. The way your mix just refuses to breathe the way pro records do. If this sounds painfully familiar, your cables might be quietly destroying everything you're working so hard to build.
The Silent Killer Hiding in Your Signal Chain
Most producers obsess over plugins, preamps, and room acoustics — and completely ignore the one thing connecting all of it. Your cables aren't passive accessories. They're active participants in your signal journey, and when they're wrong for the job, they introduce noise, degrade your dynamic range, and rob your tone before it ever reaches your DAW.
The frustrating part? You can't always hear the problem clearly. It hides in a slightly elevated noise floor, a subtle muddiness, or a high-end sheen that just won't sit right in the mix.
What Is a Balanced Audio Signal and Why It Matters
A balanced audio signal carries your audio on two conductors — one with the original signal, one with a phase-inverted copy — plus a ground shield. When the signal reaches its destination, the receiving device flips the inverted copy back and combines both. Any noise picked up along the way is identical on both conductors, so it cancels out completely. This is called Common Mode Rejection, and it's the reason pro studios run balanced lines everywhere they can.
Unbalanced cables carry the signal on just one conductor with a shared ground. They work fine at short distances, but the longer your cable run, the more noise and interference bleeds into your signal with nowhere to go.
The Gold-Plated Cable Myth (And What Actually Fixes the Problem)
Here's a belief that costs a lot of producers real money: "If I buy expensive, gold-plated cables, my noise problems will disappear."
Gold plating resists oxidation at connector contacts — that's genuinely useful. But it does absolutely nothing to address a ground shielding mismatch or an unbalanced signal running 15 feet across a room full of power supplies and LED lighting. The fix isn't in the price tag of your cable. It's in understanding which signal type belongs on which run, which connector carries which wiring configuration, and how shielding interacts with your specific gear.
XLR vs TRS vs TS: It's Not Just About the Connector Shape
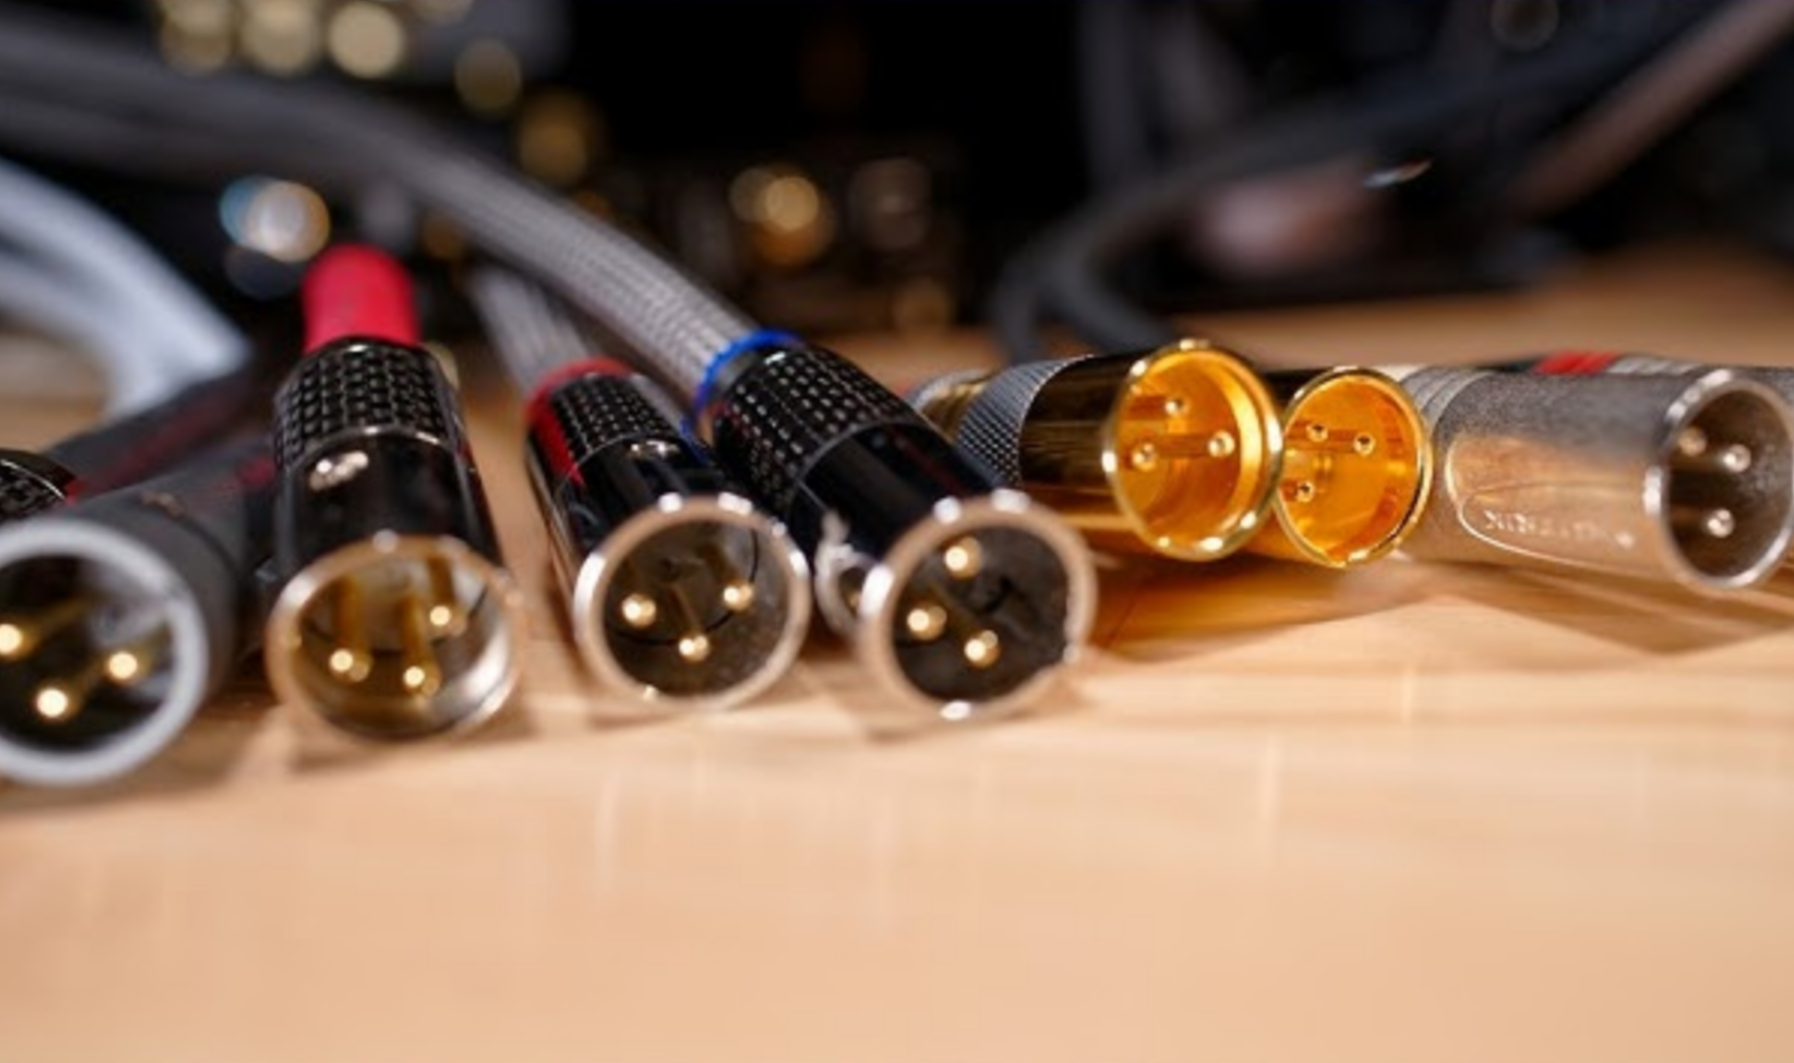
- XLR connectors carry balanced signals and are the standard for microphones and balanced line-level gear.
- TRS (Tip-Ring-Sleeve) jacks can carry balanced signals or stereo unbalanced — and that distinction matters enormously depending on where you plug them.
- TS (Tip-Sleeve) jacks are always unbalanced. Great for short instrument runs, problematic for long ones.
Using a TRS cable where a TS is expected — or vice versa — doesn't just create noise. It can actually affect impedance matching and phase relationships in ways that quietly degrade your tone across the whole mix.
Common Wiring Mistakes That Cost You Professional Tone
Running unbalanced instrument cables from your interface outputs to studio monitors. Mixing balanced and unbalanced gear without a proper direct box or re-amp box. Using cheap shielded cables with broken or intermittent ground connections. These aren't rare edge cases — they're happening in home and project studios every single day, and the producers making these mistakes often blame their plugins or their room instead.
You're not alone in this. Signal chain confusion is one of the most common and least-discussed problems in home studio production.
Audit Your Studio Wiring Before Your Next Session
Knowing that a problem exists is the first step. Knowing exactly how to trace it, fix it, and rewire your studio signal chain with confidence is where most producers get stuck — because forum threads give you fragments, not a complete picture.
That's exactly why the Studio Wiring & Signal Chain Workbook exists. Kill the Noise is a premium visual, step-by-step interactive workbook built to walk you through every connection in your studio — from mic to monitor — so you can identify noise sources, choose the right cable for every run, and build a signal chain that actually performs like a professional setup.
No more guessing. No more forum rabbit holes. Just a clear, visual system you can work through at your own pace and apply directly to your specific gear.
The Cabling Standard Every Serious Studio Must Follow
Balanced where possible. Proper connectors matched to proper gear. Shielding that's actually intact and grounded correctly. These aren't advanced concepts reserved for commercial studios — they're the baseline that separates recordings that sound polished from ones that always feel almost there.
Your gear is capable of more than you're currently hearing. The signal chain standing between your performance and your DAW just needs to be built right.
Comments (0)
Leave a Comment
No comments yet. Be the first to comment!