Fix Plosives at the Source: Mic Placement That Works
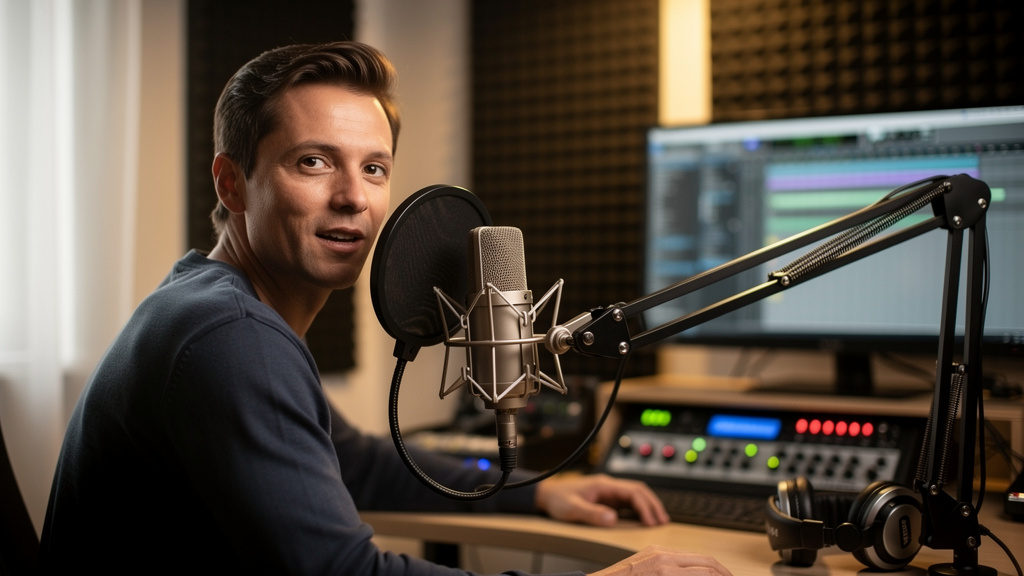
Plosives are not a mixing problem first. They are an airflow problem that reaches the microphone capsule and overloads the low end before the signal ever gets to EQ, compression or restoration tools. If you record singers, podcasters or voiceover talent in a small studio, solving plosives at the source will save more time than any plugin chain.
The good news is that plosives are usually fixable without buying a new microphone. In most cases, the issue is a combination of mic height, distance, angle, pop filter spacing and talent position. Get those five variables right and the harsh bursts on P, B, T and K consonants drop dramatically.
What a plosive actually does to your recording
A plosive is a blast of fast-moving air produced when the mouth briefly stops airflow and then releases it. With a close mic, that air can hit the diaphragm directly. The microphone does not hear that burst the way human ears do. It reacts to the pressure wave, often producing a huge low-frequency thump, a clipped transient or both.
That is why plosives can survive even expensive signal chains. A premium preamp will not stop them. A de-esser will not stop them. A high-pass filter can reduce the rumble, but it often leaves a distorted edge or makes the voice sound thin if you push it too hard.
Think of plosive control as airflow management, not tone shaping.
Start with the most common mistake: speaking straight into the capsule
The classic beginner setup is the mic directly in front of the mouth, capsule aimed straight at the lips, with the talent 2 to 4 inches away. That position gives you intimacy and level, but it also puts the capsule in the direct path of every puff of air.
Instead of aiming the mouth at the center of the diaphragm, aim the voice past the microphone. The mic should capture the sound, not the wind.
A reliable starting point for spoken word is this:
Place the microphone 4 to 8 inches from the mouth
Use a pop filter 2 to 3 inches in front of the mic
Keep the talent 2 to 4 inches behind the pop filter
Angle the mic 20 to 45 degrees off-axis
Raise or lower the mic slightly so the capsule is not directly in line with the lips
That simple setup solves most home-studio plosive problems immediately.
The two placement moves that work fastest
1. Go off-axis
Turn the microphone slightly so the capsule is not facing the mouth head-on. You do not need an extreme angle. Even a modest 20-degree rotation can redirect the air blast while preserving a natural tone.
For a vocalist, try placing the mic just to the right or left of the mouth, pointed back toward the corner of the lips. For podcast and voiceover work, this often sounds cleaner than dead-center placement and reduces mouth noise as well.
If the mic gets too far off-axis, the top end can dull out, especially on some large-diaphragm condensers. Make small changes and monitor with headphones while the talent repeats plosive-heavy phrases.
2. Change the vertical position
Putting the capsule slightly above mouth level is one of the oldest voice-recording tricks for a reason. When the talent speaks slightly under the mic, the strongest air burst travels below the diaphragm instead of into it. You still capture the voice, but the wind energy misses the most sensitive point.
The opposite approach can also work with some voices: placing the mic slightly below the mouth so the talent speaks over it. The better choice depends on the performer’s diction, posture and tone. In practice, slightly above mouth level is usually the more dependable starting point.
Your pop filter may be in the wrong place
Many people use a pop filter, but place it too close to the microphone and then work too close to the filter. That leaves almost no room for the air to disperse.
A pop filter works best when it creates two stages of control: one gap between the mouth and filter, and another gap between the filter and microphone. If the filter is pressed right up against the grille, it is doing less than you think.
Use this spacing guide:
Set the pop filter about 2 to 3 inches in front of the mic
Place the talent about 2 to 4 inches behind the filter
Mark that position so the talent does not creep forward during the take
For aggressive vocalists or close, intimate podcast delivery, increase total mouth-to-mic distance before adding EQ or editing. Distance often fixes what processing cannot.
Mic type matters, but not the way people assume
Condenser microphones are often blamed for plosives because they are detailed and commonly used up close. But the real issue is not that condensers are bad. It is that many are used with close placement and bright signal chains that make every problem obvious.
Dynamic broadcast mics can be more forgiving because they are often designed to manage close speech and reject some environmental detail. Still, they can plosive badly if the speaker is too close and aimed directly into the capsule.
If you are choosing between mics for a plosive-prone speaker, consider:
How the mic behaves off-axis
Whether the grille design includes meaningful wind protection
How much proximity effect builds up at close distance
Whether the speaker can maintain consistent position
A mic with strong proximity effect can make minor plosives sound much worse. Sometimes backing off one extra inch does more than swapping microphones.
Coach the talent, not just the hardware
Some plosives are mechanical, but many are performance-related. A speaker who leans in on emphasis, drops their chin on hard consonants or speaks directly into the filter will defeat a good setup.
Give simple direction:
Tell them to aim their voice through the side of the pop filter, not the center of the mic
Ask them not to chase the mic when speaking quietly
Keep posture upright so airflow stays consistent
For repeated problem words, rehearse softer consonant release rather than overpronouncing
Do not overcoach to the point that the read becomes stiff. The goal is controlled airflow with natural delivery.
If the talent cannot stay still, build a setup that tolerates movement. A technically perfect placement is useless if the speaker drifts out of it every 20 seconds.
How to test plosive control in under two minutes
Do not wait until the full take is done. Test with phrases that trigger the problem immediately.
Use lines packed with plosives, such as:
Peter bought blue paper clips
Big bold brands build trust
Pop vocals need presence, not puff
Monitor on headphones and watch the waveform or input meter. A plosive often appears as an oversized low-end spike compared to nearby syllables. Make one change at a time: angle, height, distance, then pop filter spacing. When you change three things at once, you do not know what solved it.
When room acoustics make plosives seem worse
In small untreated rooms, low-frequency energy can hang around just enough to make plosives feel bigger and muddier. The room is usually not causing the plosive, but it can exaggerate the thump and make cleanup harder.
If the voice sounds boomy after every plosive, check whether the talent is close to a wall, desk surface or reflective screen. A desk under the mic can reflect low-mid energy back into the recording. Sometimes raising the mic stand or shifting position away from a wall improves clarity more than additional filtering.
What to do in the mix when some plosives still get through
Even with good placement, a few problem hits may remain. At that point, use processing surgically rather than globally.
Clip gain the worst plosive syllables before compression
Apply a high-pass filter only where needed if full-track filtering thins the voice
Use spectral or waveform repair tools on isolated bursts
Compress after plosive cleanup, not before, or the thumps will get louder
A common mistake is inserting a compressor early, then wondering why every P explodes. Compression reduces the gap between normal speech and the low-frequency blast, making the plosive feel more obvious.
A dependable setup for most home studios
If you need one practical configuration that works for most podcasters, voice artists and solo vocalists, start here:
Mount the mic slightly above mouth height
Angle it down toward the mouth at about 30 degrees
Offset it slightly left or right of center
Place a pop filter 2 to 3 inches in front of the grille
Keep the talent 6 to 10 inches from the mic total
High-pass gently only if needed after recording
This setup keeps the microphone close enough for presence, while taking it out of the direct air stream that causes the problem.
The real fix is repeatability
Plosive control is not about one magic accessory. It is about creating a repeatable recording position that manages airflow every time someone steps up to the mic. Once you find the combination of angle, height and distance that works for a specific voice, document it. Mark stand height, note filter spacing, and take a quick reference photo.
That turns plosive control from a recurring annoyance into a solved studio process. And in a professional workflow, solved processes are what keep sessions fast, talent confident and edits clean.
Ready to say goodbye to frustrating noise and hello to crystal-clear audio?
Comments (0)
Leave a Comment
No comments yet. Be the first to comment!