Top 7 Reasons a Vocal Chain Gets Noisy After Adding Hardware
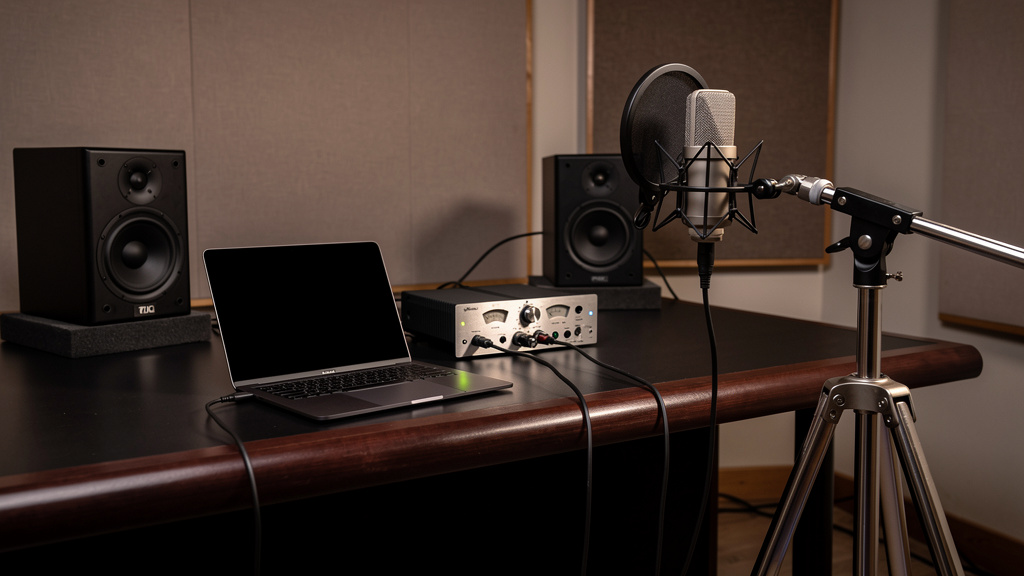
You know the feeling: the vocal chain was behaving, the session was moving, and then you added one compressor, one channel strip, or one headphone amp to make things better. Now there’s hiss, hum, buzz, or a strange hash riding under every take. That kind of problem is maddening because it feels small, but it steals time, confidence, and momentum fast. The good news is that when noise appears right after adding hardware, the cause is usually more specific than it seems.
This is not really about “bad gear.” Most of the time, the new box simply exposed a weak point in the chain, or it changed level relationships enough that a quiet flaw became obvious. If you know where to look, you can narrow it down quickly instead of swapping cables for an hour and hoping the noise gets embarrassed and leaves.
1. The new hardware changed your gain structure
This is the most common one, and it fools good engineers all the time. You insert a compressor or preamp, the output drops a bit, and now you compensate downstream by cranking the interface input, monitor controller, or headphone send. Suddenly the whole chain seems noisier, and the new unit gets blamed.
What actually happened is simple: the signal level reaching the next device got lower, so the next gain stage had to work harder. If that downstream stage already had a modest noise floor, you just made it audible. The hardware didn’t create all the hiss. It changed where the amplification happens.
Pay attention to where you’re adding makeup gain and where you’re losing level. A healthy analog chain usually stays quiet when each device receives a strong, appropriate level and doesn’t have to rescue a weak one. If one box is seeing too little level on the way in or sending too little on the way out, the chain starts feeling “noisy” even though the real problem is gain placement.
2. You accidentally turned a balanced run into an unbalanced one
A lot of quiet signal paths become noisy the moment one connection stops rejecting interference properly. This often happens during hardware changes because the new piece offers multiple I/O options, and one cable choice quietly breaks the system’s immunity.
Common examples include using a TS cable where a TRS line was expected, feeding a balanced input from an output that is actually unbalanced, or adapting between connectors without checking how the device is wired internally. On paper the gear is connected. In practice, the line may no longer be rejecting induced noise the way it did before.
The tell is that the noise often has a “room-dependent” or “position-dependent” quality. Move a cable near a power supply, display, wall wart, or laptop charger and the noise changes. That points less to defective hardware and more to a connection that lost its balanced protection somewhere along the path.
Before assuming failure, verify what each jack really is. “It fits” is not the same as “it is wired correctly for this circuit.”
3. The insert created a second grounding path
Not every grounding issue sounds like the classic loud 60 Hz hum people expect. Sometimes you get a softer buzz, a gritty low-mid contamination, or a noise floor that rises only when two specific pieces are connected together. Add one rack unit and you’ve now tied chassis and audio grounds together in one more place than before.
This can happen even in a small setup with just an interface, one outboard box, powered monitors, and a computer. The more gear touches both power and audio connections, the more chances you have for current to flow where you don’t want it.
If the noise appears only when a certain device is patched in, that device may not be faulty at all. It may simply be completing a loop that was impossible before it arrived. That’s why random forum advice can make this worse: people treat every hum or buzz as the same problem, when the electrical paths are often very different.
What matters here is pattern recognition. Does the noise begin the moment two grounded devices are linked by audio? Does it disappear when that single connection is removed? That points you toward grounding topology, not toward replacing perfectly good equipment.
4. The hardware is operating at the wrong nominal level
Plenty of studio devices are happiest around professional line level, while others are built around lower consumer-style levels or instrument-level expectations. If those assumptions don’t match, noise arrives fast.
A device receiving too little level forces you to boost later. A device receiving too much level may be padded down, then re-amplified somewhere else. Either way, the useful signal spends part of its trip living at the wrong height relative to the system noise floor.
This mismatch is especially common when combining:
- Audio interfaces with switchable input sensitivity
- Outboard gear that can run at different reference levels
- Desktop mixers, headphone amps, and monitor controllers
- Consumer playback devices feeding studio equipment
When the chain is matched properly, the signal moves through with less need for corrective gain. When it is mismatched, every compensation move adds a little more noise and confusion. A rig can seem mysteriously hissy when it’s really just operating a few dB out of its comfort zone at several points in a row.
5. The added box is sitting next to a noise source
Sometimes the chain got noisier not because of how the hardware is connected, but because of where you physically put it. Small studios are full of RF and EMI sources now: laptop chargers, Wi-Fi routers, USB hubs, LED lighting supplies, monitors, bus-powered drives, and wall warts jammed onto power strips.
Add a high-gain piece of analog hardware near one of those sources and it may start hearing the room in a way the old setup didn’t. That can show up as whine, ticking, fizz, or a brittle high-frequency texture that doesn’t sound like classic analog hiss.
One clue is when the noise changes with physical proximity. Rotate the unit, move the power supply, separate audio cabling from power bricks, or relocate the box a few feet away from chargers and displays. If the noise character shifts, you’re dealing with coupling from the environment, not some abstract “bad signal.”
This is also why neat cable management matters less as decoration and more as control. Short, intentional runs with sensible spacing often quiet a system better than expensive upgrades do.
6. You introduced a noisy power supply without realizing it
Not every power issue comes from the wall. A surprisingly large number of noise problems show up after adding an external supply, especially cheap switch-mode adapters, generic replacements, or wall warts sharing space with sensitive audio gear.
The new hardware may be fine, but its supply can leak noise into the unit itself or radiate noise into nearby audio lines. That noise may not sound like hum at all. It can be a high-frequency buzz, digital spray, or an ugly overtone on top of the signal that becomes obvious only when compression or vocal processing is engaged.
When this is the cause, the test pattern is usually very specific:
- The chain is quiet until that device is powered.
- The noise changes when its power adapter is moved.
- The noise may remain even with no microphone connected.
- The issue gets worse when gain or compression increases.
That pattern tells you the hardware insertion changed the electrical environment, not just the audio routing. It’s worth taking seriously because supply-related noise has a way of masquerading as several other problems at once.
7. The new hardware revealed noise that was already upstream
This one stings a little, because the gear you added may actually be doing its job. Put a compressor, saturator, or detailed preamp into a vocal chain and it can expose low-level junk that was always there: HVAC rumble, fan noise, a mediocre mic cable, self-noise from an earlier stage, or a less-than-ideal interface input.
Compression is especially revealing. The moment you reduce peaks and add makeup gain, the floor rises along with all the little problems hiding under the performance. That doesn’t mean the compressor caused the noise. It means your signal-to-noise ratio upstream wasn’t as strong as it needed to be.
If you keep chasing the newly added hardware, you can waste a lot of time. A better question is: what became newly audible, and what stage made it audible? Those are not the same thing. The chain often tells you the truth if you isolate sections and listen to what changes versus what merely gets louder.
If you want a structured way to think through that without getting lost in contradictory forum answers, this noise-tracing workbook is a solid resource. It helps studio owners track problems back to the source instead of treating every hiss or buzz like the same generic issue.
What to do before you blame the new box
When noise appears after adding hardware, resist the urge to swap three things at once. Keep the comparison simple. Return to the last quiet version of the chain, then reintroduce one variable at a time: the device, the cable type, the power supply, the physical placement, and the gain structure around it. You’re not just listening for “noise or no noise.” You’re listening for what kind of noise appears, when it appears, and what changes its behavior.
That’s the practical takeaway: most post-upgrade noise problems are not mysterious. They come from level mismatch, grounding paths, cable topology, power contamination, physical placement, or upstream noise becoming audible. Once you recognize those buckets, the problem gets smaller fast, and your vocal chain usually does too.
Comments (0)
Leave a Comment
No comments yet. Be the first to comment!