Top 7 Hum Mistakes Hiding in Your Home Studio Power
You print a vocal that feels perfect in the room. The performance is there, the tone is right, the compressor is barely kissing the peaks. Then you solo the tail between phrases and there it is: a low, stubborn hum sitting under the take like a dim light you forgot to turn off. So you start eyeing expensive power conditioners, because the noise feels electrical and the room is in your house, so it must be the power. Sometimes it is. Most of the time, though, the hum is telling you something more specific.
Home studio power problems get blamed on the wall long before the signal path gets questioned. That’s understandable. Mains power feels mysterious, and rack gear with voltmeters on the front looks reassuring. But the hum that ruins recordings usually appears where power and audio touch each other badly: through grounding relationships, cable choices, distribution habits, and gear that was never meant to share a circuit the way we make it share one in a spare bedroom.
Here are the seven mistakes I see most often when a home studio has a hum problem that seems like “dirty power” but usually isn’t solved by throwing money at one rack unit.
1. Splitting your studio across multiple outlets without thinking about ground reference
This is probably the most common one. Interface on one wall outlet. Monitors on another. Computer and displays on a desk strip. Outboard rack on a conditioner by the closet. Everything powers up, audio passes, and then a quiet 50 or 60 Hz hum shows up because the system no longer shares one clean reference point.
In a house, outlets that seem close together are not always electrically identical in practice. Tiny voltage differences between grounds can become audible once gear is tied together by audio cables. That is the classic setup for loop current: power says one thing, signal interconnects say another, and your audio path becomes the referee.
The fix is not automatically “buy a better conditioner.” It starts with understanding how your studio’s devices are distributed and where they reference ground. A lot of hum disappears when the core audio system is powered in a more coherent way, from a single planned source rather than a convenience-based sprawl across the room.
If you want a visual method for tracing those relationships without getting lost in forum folklore, Kill the Noise is useful precisely because it maps the problem in a way most text advice doesn’t.
2. Assuming every low-frequency noise is coming from the mains
Not every hum that sounds electrical is born at the electrical panel. Sometimes what you are hearing is induced noise from a wall wart sitting against an audio cable, a monitor power cable bundled tightly with a line output, or a laptop power supply spraying hash into a system that otherwise behaves.
Hum gets used as a catch-all word, but different noises point to different causes. A smooth low fundamental suggests one thing. A harsher buzz with extra harmonics suggests another. A noise that changes when a screen wakes up, a light dimmer moves, or a charger connects is already giving you evidence. The ear can’t diagnose the whole problem, but it can keep you from chasing the wrong one.
This matters because once you call everything “dirty power,” you stop noticing when the sound changes with cable placement, device charging state, or one particular piece of gear entering the chain. That’s where the real answer often lives.
3. Treating power strips, surge protectors, and conditioners as the same tool
These get lumped together constantly, and that confusion wastes a lot of time.
A basic power strip distributes outlets. A surge protector adds some protection against voltage spikes. A conditioner may add filtering, sequencing, voltage monitoring, or other power-management functions depending on the design. None of those descriptions automatically means “solves ground loops.”
That’s the costly misconception. If the hum is caused by loop current between interconnected devices, the fanciest power box in the rack may do very little because the problem is not primarily incoming AC contamination. It is the relationship between gear grounds and signal paths.
That does not mean power products are useless. They can be excellent for protection, organization, and in some environments filtering. But buying one as a cure-all for every studio hum is like replacing your mic because a patch point is oxidized. Wrong problem, wrong layer.
This is why articles like why a power conditioner won’t cure your studio hum resonate with so many studio owners: they name the mismatch between what the box promises emotionally and what the fault actually is.
4. Letting unbalanced connections carry the burden of a complex setup
A small home studio often starts simple and grows messy. First it’s an interface and speakers. Then a synth, a channel strip, a hardware compressor, a pedal send, maybe a headphone amp, maybe a patch point. Suddenly a setup that could get away with a few short unbalanced runs is now a network of gear with several paths to ground.
Unbalanced connections are not evil. They are just less forgiving when the studio gets more interconnected. The more complex the rig, the more likely those connections will expose differences in ground potential and pick up junk you never noticed before.
When hum appears after adding one hardware piece, it often isn’t because that gear is defective. It’s because the system crossed a threshold where connection type now matters more than it used to. The mistake is treating cabling like an accessory decision instead of part of the electrical behavior of the room.
This is also why a noise issue can seem random. Remove one synth and the rig goes quiet. Add it back and the hum returns. That doesn’t prove the synth is “bad.” It proves that device changes the grounding picture of the entire setup.
5. Creating tidy cable bundles that force power and audio to live together
Neat racks and clean desks are satisfying. They can also be noisy.
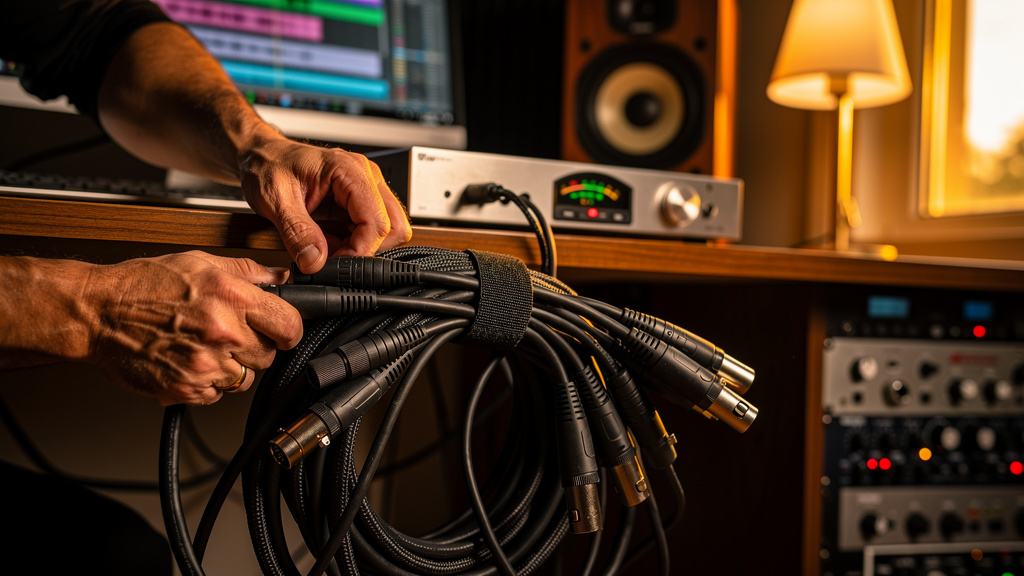
I see beautifully dressed home studios where IEC cables, wall wart leads, speaker lines, USB, and analog audio are all cinched into one perfect trunk run with Velcro every six inches. It looks professional. Electrically, it can be awful.
Power cabling creates fields. Audio cabling, especially high-impedance or unbalanced paths, can respond to those fields. When you run them side by side over distance, you raise the odds of induction. When they cross, a short perpendicular crossing is usually much less troublesome than a long parallel run. That one routing decision can be the difference between a silent chain and a nagging hum you only hear once the singer nails the take.
The mistake here is assuming good cable management and good noise management are always the same thing. They overlap, but not perfectly. A slightly less photogenic cable route is sometimes the quieter one.
6. Leaving problem devices connected because they’re not in use “right now”
One of the fastest ways to complicate hum diagnosis is keeping every device permanently connected just in case. Guitar amp modeler on standby, TV on the HDMI chain, printer plugged in under the desk, pedalboard power supply tied to the interface returns, charger bricks all over the room. Many of those devices are not passing audio, but they are still part of your studio’s electrical environment.
Home studios are especially vulnerable to this because they share space with normal life. The room is not only a control room. It may also be an office, editing bay, bedroom, streaming setup, or content corner. Every extra device is another chance for leakage, ground interaction, or radiated noise.
When chasing hum, the useful mindset is not “What piece is broken?” but “What connected thing changes the system?” Those are different questions. The first one makes you suspicious of gear. The second one makes you observant about relationships.
A simple diagnostic mindset usually follows this order:
- Reduce the studio to the smallest working signal chain.
- Add devices back one at a time.
- Notice when the noise appears, changes level, or changes character.
That still isn’t the full procedure, and it shouldn’t be treated casually around power safety, but it points you away from guesswork and toward evidence.
7. Ignoring the house itself when one room behaves worse than another
Sometimes the room really is part of the story. Older homes, DIY electrical work, shared appliance circuits, dimmers, refrigerators, HVAC loads, and questionable grounding can all make one room noticeably worse for studio use than another. The mistake is jumping from that observation straight to “I need a premium conditioner” instead of asking better questions about the branch circuit, what else is on it, and when the noise actually appears.
If your hum gets worse when the AC kicks on, when kitchen appliances run, or at certain times of day, that’s not trivial. If your interface and monitors are quiet in one room and noisy in another with the same gear, that’s not imaginary either. Those clues matter.
What they do not mean is that audio troubleshooting stops and shopping starts. They mean the electrical environment deserves respect. In some cases the next smart move is documenting the symptoms clearly and bringing in a qualified electrician, especially if outlet grounding or household wiring integrity is in question.
A studio owner does not need to become a residential electrician. But you do need to know the difference between a signal-path problem that looks electrical and an actual home wiring issue that deserves professional attention. Confusing those two is how people spend a lot and solve little.
What a quiet studio usually has in common
The quiet home rooms are rarely magical. They are usually just thought through. Their owners made a few unglamorous decisions correctly:
- Core audio gear shares a sensible power distribution plan.
- Cable routing respects the difference between power and signal.
- Balanced connections are used where the setup calls for them.
- Unused gear is not allowed to clutter the electrical picture.
- Noise is diagnosed by changing one variable at a time.
That’s why the promise of a dead-silent noise floor is real, but it usually comes from discipline, not mystique. Once the low hum is gone, you hear what was already in the recording: the front edge of consonants, the snap of a pick, the shape of reverb tails, the little transient details that tell your ear the take is alive.
If your studio keeps laying that faint blanket of hum under otherwise great work, don’t start with the fantasy purchase. Start by questioning the relationships in the system. Most of the time, the wall is not the villain by itself. The noise is happening where your power plan and your signal flow stop agreeing.
Comments (0)
Leave a Comment
No comments yet. Be the first to comment!