Why Your Voiceover Chain Clips on Quiet Lines
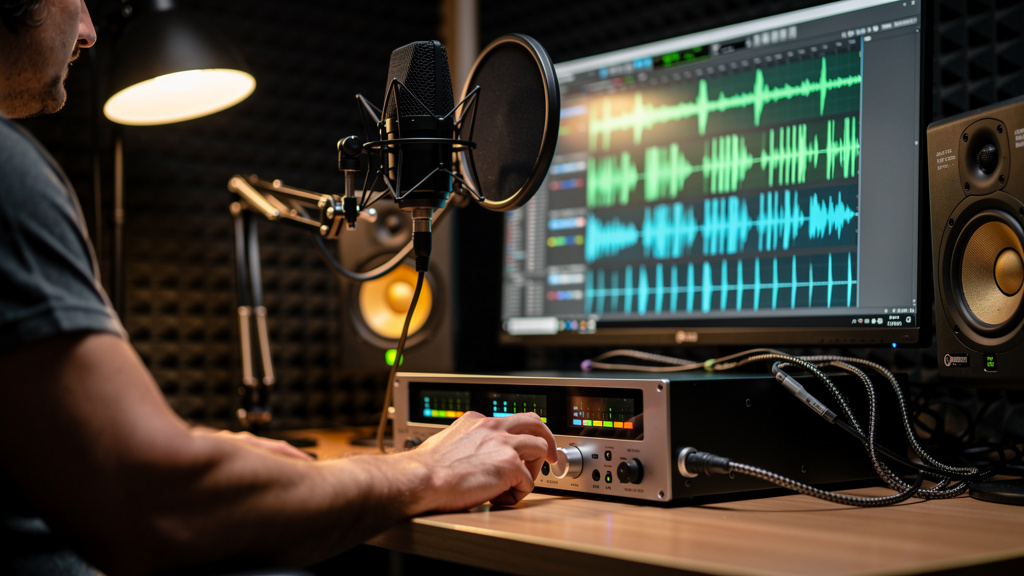
You know the feeling: the read is good, the room is under control, your waveform doesn’t look outrageous, and yet the take has that ugly little crackle on words that were supposed to be intimate. Not the big obvious overload on a shout. The quiet line. The close, breathy sentence. The one you can’t re-create quite the same way once the moment is gone.
That kind of distortion is maddening because it makes you chase the wrong thing. You pull down the interface gain, or throw a limiter on the channel, or start blaming the mic. But if your voiceover chain clips on quieter phrases, the trouble is often happening at a point in the signal path that your DAW meter never shows you clearly.
Let’s walk through where that hidden clipping actually comes from, how to identify it fast, and what to change so your clean takes stay clean.
Quiet lines can overload a mic chain for reasons that have nothing to do with average level
Spoken-word recording has a weird dynamic profile. A sentence can feel soft overall while still producing very fast transients from consonants, mouth clicks, chest resonance, or a mic technique issue. A whispery phrase delivered an inch off the capsule can hit your front end harder than a louder line spoken from a controlled distance.
The key point is that clipping doesn’t care how loud the performance feels to you. It cares whether any stage in the chain runs out of headroom for even a split second.
In a voiceover setup, those stages usually look like this:
- Microphone capsule and internal electronics
- Inline booster, if you use one
- Mic preamp in your interface or external channel strip
- Analog processing like a compressor or EQ
- Converter stage going into digital
- Plugin chain inside the DAW
If any one of those stages clips, the damage is already printed or already audible, even if the final channel meter looks conservative.
The most common cause: working too close to the mic with too much front-end gain
This is especially common with podcasters and voice actors using dynamic mics that “want gain.” Because the mic output is lower, people push preamps hard, add an inline booster, then drift too close to the capsule to get that rich, intimate tone. The result is a chain that sounds quiet in the room but is actually slamming the input on plosives, hard consonants, and low-mid bursts.
That problem gets worse when you stack small gains at multiple points without thinking of them as one combined system. For example:
- An SM7B or RE20 worked very close
- A Cloudlifter-style booster adding 20 to 25 dB
- An interface preamp adding another large chunk of gain
- A compressor plugin adding makeup gain during monitoring
None of those choices is wrong by itself. Together, they can leave you with almost no margin for those tiny spoken transients that make a voice performance sound natural.
If you use an inline gain booster, remember that it doesn’t magically make gain free. It changes where gain happens in the chain, which can help noise performance, but it does not remove the need for headroom discipline.
Why the distortion often shows up on soft phrases first
That sounds backward until you hear what is really clipping. Soft phrases are often recorded closer to the mic. Closer distance means more low-frequency buildup from proximity effect, more sensitivity to breath blasts, and more exaggerated consonant spikes. So the emotional “quiet” line may be physically rougher on the chain than the louder line delivered from a slightly safer distance.
There’s also a psychological trap: when a performer goes quiet, the engineer often reaches for more gain. If your chain was already close to the edge, that extra bit is enough to make the next phrase splatter.
If the line sounds intimate but the waveform looks modest, don’t assume the chain is safe. Hidden front-end clipping rarely announces itself with a giant meter slam.
How to tell where the clipping is happening
You can sort this out in ten minutes if you isolate stages instead of changing everything at once.
- Bypass all plugins. If the distortion disappears, the issue is inside the DAW, often from an input plugin, compressor, saturation stage, or output trim problem.
- Record a dry test at conservative level. Aim for peaks around -18 to -12 dBFS while performing your problem phrases exactly as you normally would.
- Listen before adding anything. If the dry recording is already crunchy, the clipping happened before or at conversion.
- Check any inline hardware. Some external channel strips and processors have input stages that can overload long before their output meters make it obvious.
- Back off your mic distance slightly. Move from one inch to three or four inches with a pop filter, then repeat the same phrase. If the crackle vanishes, your issue is probably front-end overload from technique plus gain structure.
- Lower preamp gain more than you think you need. If the take gets cleaner immediately, you found a headroom problem, not a “bad mic” problem.
This process matters because clipping has different textures depending on where it occurs. Analog overload at the preamp can sound gritty or pinched. Converter clipping can sound sharp and brittle. Plugin clipping can sound flatter, denser, or oddly small. Your ears can help, but isolation gets you to the answer faster.
Watch the meter that matters
A lot of people monitor only the DAW track meter. That’s useful, but it may be too late in the chain to tell the whole story.
Pay attention to these metering points if your setup has them:
- Input or signal/peak LED on the mic preamp or interface
- Input meter on an external processor
- Converter/input meter in the interface control software
- Plugin input meter, not just output meter
A clean-looking DAW channel can hide clipping if you overloaded the analog stage earlier and then simply turned the signal down afterward. Lowering a fader after distortion does not remove distortion. It only gives you a quieter distorted signal.
Plugin chains can clip even when your recorded file is clean
This catches people all the time with voiceover templates. You track into a chain with EQ, compression, de-essing, maybe a broadcast-style processor, and then monitor through a limiter. The raw recording is fine, but the processed monitor path is clipping internally, so you think the take is ruined.
Here are the usual offenders:
- Adding EQ boosts before compression
- Driving a compressor input too hard
- Using makeup gain aggressively
- Feeding a de-esser or exciter with already hot peaks
- Stacking multiple plugins that each add a little level
If that sounds familiar, build the chain again from zero and level-match each stage. Plenty of engineers talk about signal flow problems in guitar or patchbay rigs, but the exact same logic applies to spoken-word templates too. If you’ve ever chased noise from routing issues, the discipline behind tracking down what your patchbay is doing to the signal is the same discipline that solves hidden clipping.
A practical gain-staging setup for voiceover
You do not need to record hot. Modern converters give you more room than many people use.
A reliable starting point looks like this:
- Set mic distance first, usually with a pop filter and roughly three to six inches between mouth and capsule, depending on mic and tone.
- Perform your loudest intended phrase and your closest intimate phrase during setup.
- Adjust preamp gain so those phrases peak roughly between -18 and -12 dBFS, with occasional higher peaks still staying comfortably below clipping.
- If you use hardware compression on the way in, keep it gentle. You’re controlling dynamics, not rescuing bad gain structure.
- Keep plugin input trims conservative, especially before compression and de-essing.
- Match output level after each plugin so one processor is not accidentally overdriving the next.
This feels quieter if you’re used to printing hot signals, but it leaves room for the little spikes that spoken-word performance generates.
Mic technique fixes that solve “mystery clipping” fast
Some clipping problems are really performance-position problems wearing an engineering disguise.
- Angle the mic slightly off-axis instead of speaking straight into the capsule.
- Use a pop filter even if plosives do not seem severe. It helps maintain distance discipline.
- Do intimate lines by getting emotionally closer, not physically one inch from the mic.
- Turn your head slightly on explosive consonants if the read allows it.
- Avoid creeping forward during longer takes. This is one of the biggest hidden causes of inconsistent front-end overload.
The reason these work is simple: they reduce the fast bursts of energy that overload input stages before average level ever looks dangerous.
Don’t confuse clipping with RF or power noise
Distortion on speech can sometimes be mistaken for interference or electrical crud, especially when it only appears on certain syllables. But clipping tends to track performance dynamics and mouth sounds, while interference tends to be more constant or tied to nearby devices and wiring conditions.
If what you hear sounds more like strange hash, station bleed, or intermittent contamination than overload, it may be worth comparing your symptoms to why studio gear sometimes picks up radio signals. That’s a different problem with a very different fix.
The fix is usually less dramatic than the hunt
Most of the time, this problem comes down to one of three things: too much gain before conversion, too much closeness to the mic, or too much level being added inside a processing chain. Not a defective mic. Not a cursed interface. Not some mysterious flaw in your voice.
When a quiet line crackles, think headroom first. Strip the chain back, check each stage, leave more space than feels necessary, and let the performance carry the intimacy instead of trying to manufacture it with extra gain. That’s how you get spoken-word tracks that sound close, detailed, and solid without that brittle edge sneaking in on the lines that mattered most.
Comments (0)
Leave a Comment
No comments yet. Be the first to comment!